Speed limiters might feel like invisible hands holding your vehicle back. Some cars are programmed to tap out at less than 120 miles per hour straight from the factory, even though the technology inside can handle much more. Most drivers think removing this restriction is just about unplugging a setting, but the truth is it takes specialized equipment, careful backup steps, and a systematic plan or you risk damaging your vehicle’s electronics for good.
Table of Contents
- Step 1: Gather Necessary Tools And Equipment
- Step 2: Access The ECU And Backup Existing Software
- Step 3: Modify ECU Settings For Speed Limiter Removal
- Step 4: Reinstall ECU And Secure Connections
- Step 5: Conduct Initial Testing And Performance Verification
Quick Summary
| Key Point | Explanation |
|---|---|
| 1. Gather Essential Tools | Assemble a specialized toolkit, including diagnostic scanners, cables, and software for effective ECU modifications. |
| 2. Backup ECU Software | Create a comprehensive backup of the original ECU configuration to avoid losing critical data during modifications. |
| 3. Carefully Modify ECU Settings | Adjust specific parameters with precision to effectively remove the speed limiter without damaging the vehicle. |
| 4. Reinstall ECU with Precision | Ensure secure reconnections and check integrity to maintain vehicle performance after modifications. |
| 5. Conduct Thorough Testing | Perform controlled tests to validate modifications, checking for performance improvements and system stability. |
Step 1: Gather Necessary Tools and Equipment
Preparing for speed limiter removal requires strategic planning and specific automotive diagnostic equipment. Professional tuners understand that proper tool preparation is as critical as the actual ECU modification process. Your initial goal is assembling a comprehensive toolkit that ensures accurate and safe vehicle performance enhancement.
Essential Equipment for Speed Limiter Removal
To successfully complete speed limiter removal, you will need several specialized tools and devices. A professional automotive diagnostic scanner becomes your primary instrument, capable of reading and writing ECU data. This device allows you to interface directly with your vehicle’s electronic control unit, enabling precise modifications. Select a scanner compatible with your specific vehicle make and model, ensuring comprehensive communication protocols.
Your toolkit should include additional critical components:
- High-quality OBD2 diagnostic interface cable
- Laptop with compatible ECU tuning software
- Stable electrical power supply or battery maintainer
- Professional grade multimeter for electrical system verification
- Backup vehicle computer files and original manufacturer settings
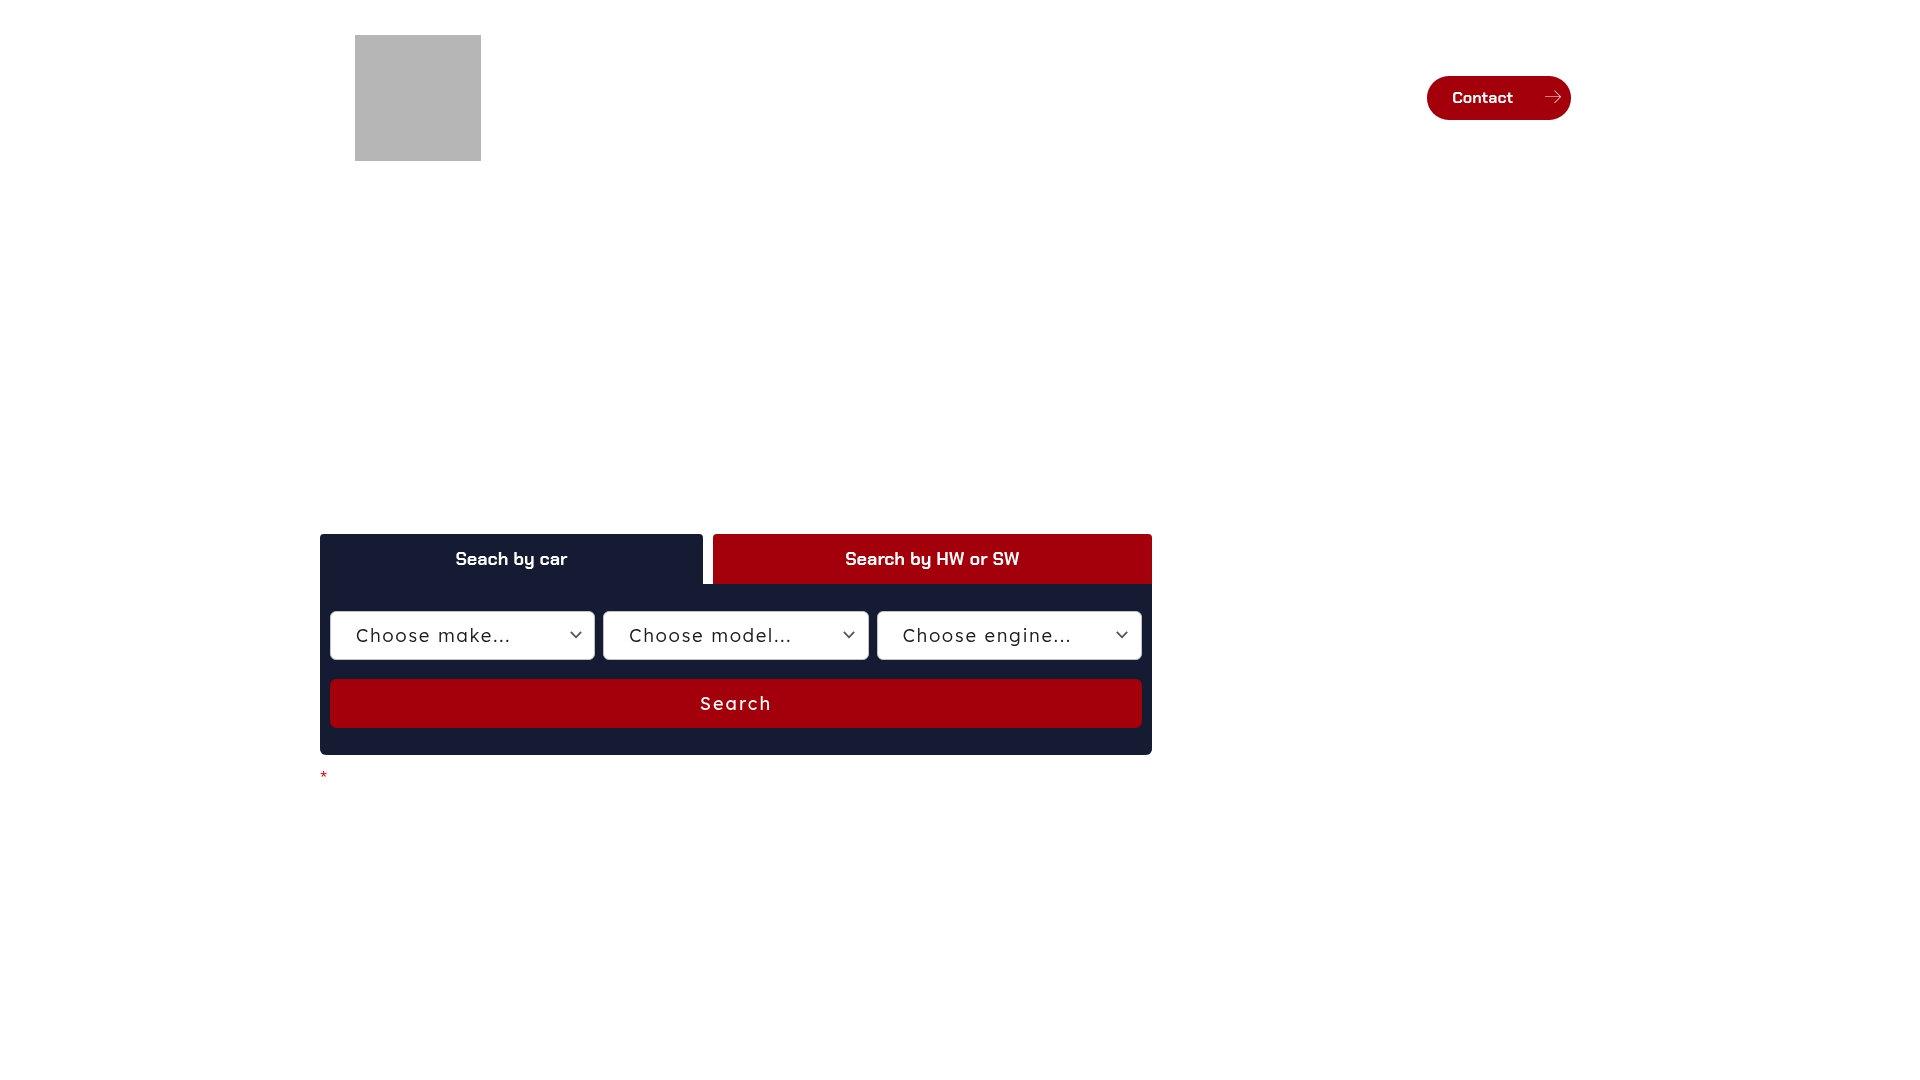
Understanding your specific vehicle’s electronic architecture becomes paramount before attempting any speed limiter modifications. Different automotive manufacturers implement speed restriction technologies uniquely, requiring nuanced approaches. Explore our comprehensive ECU file database to verify compatibility and download appropriate tuning resources for your specific vehicle model.
Professional tuners recommend thoroughly documenting your existing vehicle settings before initiating any modifications. Create detailed backups of your original ECU configuration to ensure you can restore factory settings if needed. This precautionary step protects your vehicle’s core electronic systems and provides a safety net during the performance enhancement process.
Careful preparation distinguishes successful speed limiter removal from potential mechanical complications. By investing time in gathering appropriate tools and understanding your vehicle’s specific requirements, you minimize risks and maximize potential performance gains.
Below is a summary table of essential tools and equipment needed for successful speed limiter removal, including brief descriptions of their specific purposes.
| Tool/Equipment | Purpose |
|---|---|
| Automotive Diagnostic Scanner | Read/write ECU data and access vehicle electronic systems |
| High-quality OBD2 Interface Cable | Connects scanner/software to vehicle ECU |
| Laptop with ECU Tuning Software | Runs diagnostic/tuning software for ECU parameter modifications |
| Stable Electrical Power Supply | Maintains consistent voltage to prevent data loss or corruption |
| Professional Grade Multimeter | Verifies electrical connections, tests voltage/resistance |
| Backup of Original ECU Files | Provides restore point to factory settings if needed |
| Anti-static Wrist Strap | Prevents static damage to sensitive electronic components |
Here is an overview table of the main steps involved in removing a speed limiter, including estimated difficulty and key goals for each phase.
| Step | Estimated Difficulty | Key Goal |
|---|---|---|
| Gather Tools and Equipment | Moderate | Assemble all required diagnostic and safety tools |
| Access and Backup ECU | High | Ensure a safe and complete backup of original ECU software |
| Modify ECU Speed Limiter Settings | Advanced | Adjust speed limitation parameters without causing damage |
| Reinstall ECU and Secure Connections | Moderate | Restore ECU physically and electrically with full integrity |
| Initial Testing and Verification | High | Validate modifications with tests and diagnostic scans |
Step 2: Access the ECU and Backup Existing Software
Successful speed limiter removal begins with meticulous ECU access and comprehensive software backup. This critical step protects your vehicle’s original configuration while preparing for performance modifications. Professional tuners understand that thorough documentation and careful handling are essential to prevent potential electronic system complications.
Locating the ECU requires understanding your specific vehicle’s design. Most modern vehicles position the Engine Control Unit beneath the dashboard on the driver’s side, typically near the steering column or under a protective panel. Careful physical inspection becomes your first approach. Some vehicles might require removing interior trim panels, so proceed with gentle precision. Use appropriate screwdrivers and take photographs of panel positioning to ensure accurate reinstallation.
Before disconnecting any connections, ground yourself to prevent static electricity discharge. Static electricity can permanently damage sensitive electronic components. Wear an anti-static wrist strap connected to a properly grounded surface, or regularly touch a metal surface to neutralize potential electrical charges. Learn more about advanced ECU data management to understand the intricate process of safe ECU interaction.
The backup process demands systematic approach and professional-grade diagnostic tools. Connect your OBD2 scanner to the vehicle’s diagnostic port, typically located underneath the dashboard near the steering column. Ensure a stable connection and power supply during the entire backup procedure. Your diagnostic software should provide options to create complete ECU configuration backups, including:
- Full system file preservation
- Individual parameter snapshots
- Manufacturer-specific configuration data
- Embedded software version information
Verify backup integrity by cross-referencing file sizes and checking software checksums.
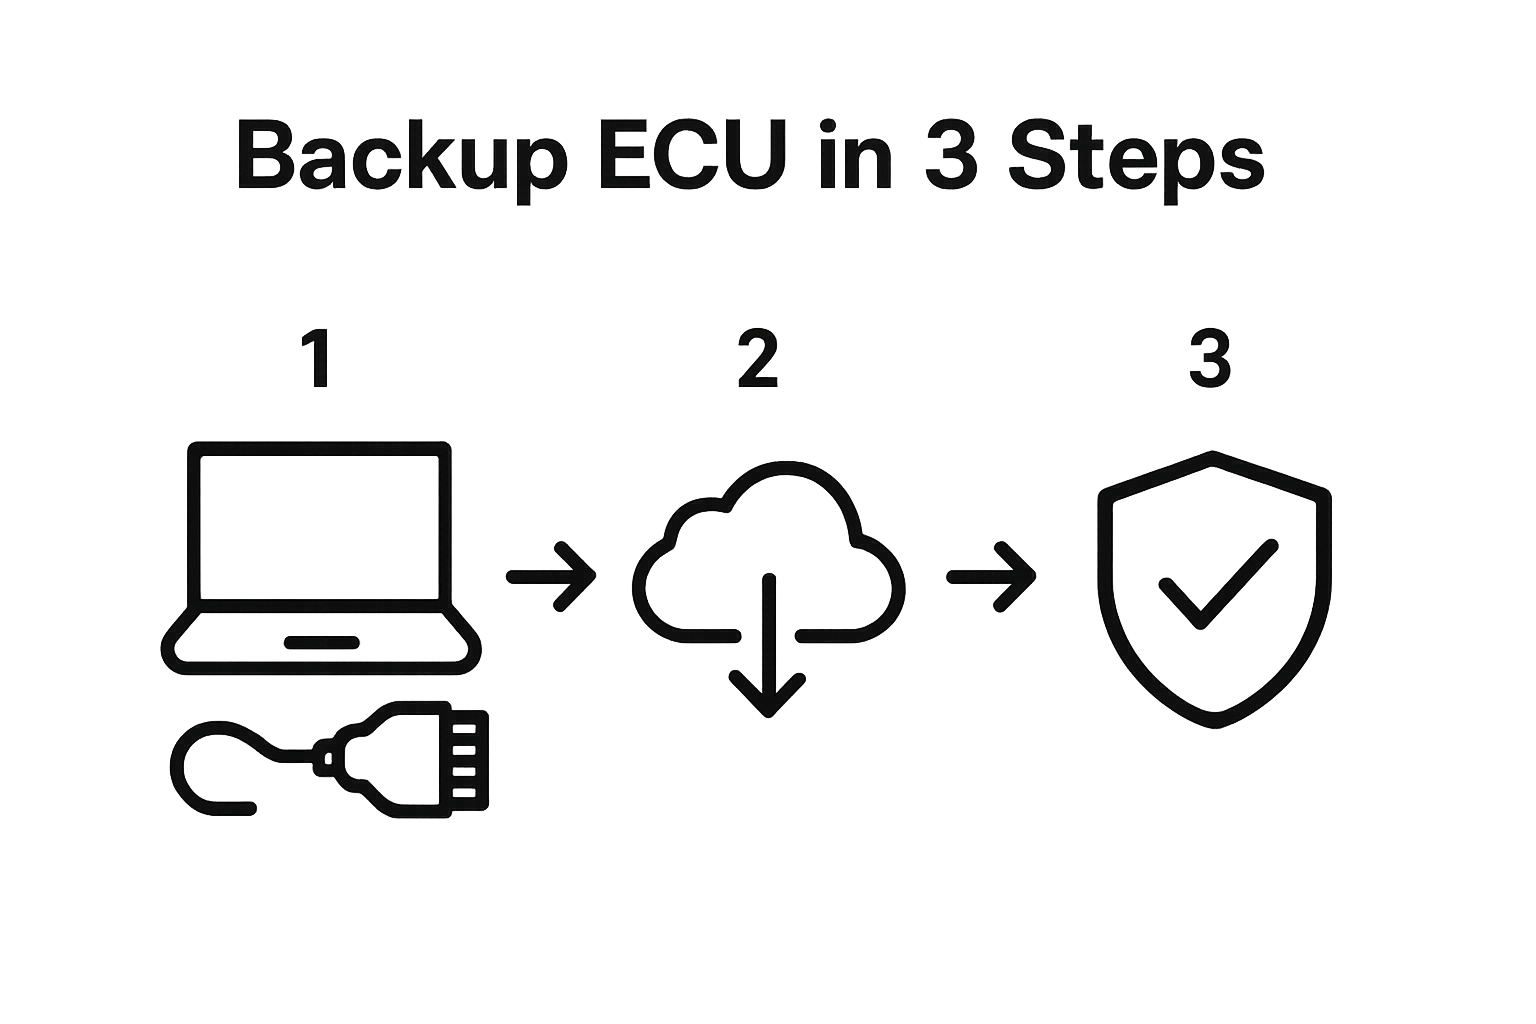 A successful backup will provide a complete restore point, allowing you to return to factory settings if needed. Professional tuners recommend storing these backup files in multiple secure locations, including cloud storage and external hard drives.
Comprehensive ECU backup is more than a preparatory step it represents your insurance policy against potential performance modification risks.
By documenting your vehicle’s original electronic configuration, you create a safety net that protects your automotive investment while enabling precise, calculated performance enhancements.
Step 3: Modify ECU Settings for Speed Limiter Removal
Modifying ECU settings for speed limiter removal represents a precision-driven process that demands technical expertise and methodical execution. This critical stage transforms your vehicle’s performance parameters by strategically reprogramming the electronic control unit to eliminate manufacturer-imposed speed restrictions. Precision is paramount during this intricate modification, as even minor miscalculations can potentially damage your vehicle’s electronic systems.
Initiate the modification process by connecting your professional diagnostic scanner to the vehicle’s OBD2 port. Select the appropriate software profile matching your specific vehicle make and model. Explore our comprehensive ECU tuning guide to understand the nuanced approaches required for different automotive platforms. Professional tuners recommend carefully navigating through the diagnostic interface, accessing deep-level ECU configuration menus that control speed limitation parameters.
Your modification strategy should focus on several critical electronic parameters:
- Speed threshold settings
- Throttle response curve
- Electronic speed governor configuration
- Transmission shift point modifications
- Fuel management interactions
Carefully adjust these interconnected systems to ensure smooth performance enhancement. The speed limiter typically exists as a programmed constraint within the ECU’s firmware, often represented as a maximum velocity threshold. Removing or increasing this threshold requires surgical precision. Professional tuners recommend incremental adjustments, gradually expanding the speed parameters to prevent sudden, potentially destabilizing changes to the vehicle’s electronic architecture.
Verification becomes crucial after completing the modification process. Run multiple diagnostic scans to confirm the changes have been successfully implemented. Test the vehicle under controlled conditions, monitoring performance metrics and ensuring no unexpected electronic system responses occur. Pay close attention to transmission response, throttle sensitivity, and overall vehicle dynamics. A successful speed limiter removal should provide seamless performance improvement without triggering warning systems or compromising vehicle stability.
Remember that speed limiter removal is not a one-size-fits-all procedure. Each vehicle presents unique electronic characteristics requiring tailored approaches. Patience, technical knowledge, and a systematic methodology distinguish successful performance enhancements from potentially costly mechanical interventions.
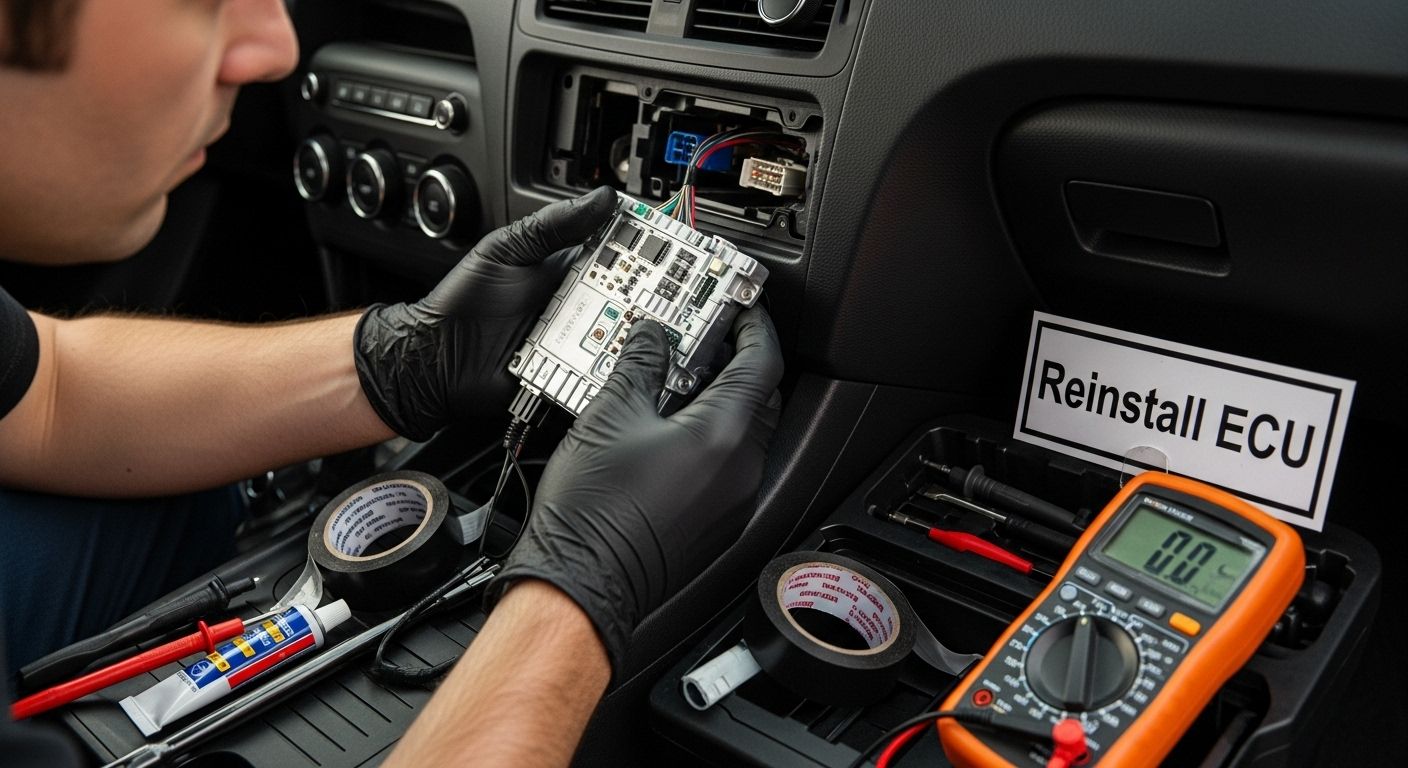
Step 4: Reinstall ECU and Secure Connections
Reinstalling the ECU represents a critical phase that demands precision, attention to detail, and systematic approach. This step ensures that your vehicle’s electronic control unit is properly reintegrated into its original mounting location with absolute electrical and mechanical integrity. Careful reconnection protects your performance modifications and prevents potential electrical system complications.
Learn advanced ECU installation techniques to understand the nuanced approach required for seamless electronic system integration. Begin by carefully examining the ECU’s original mounting points and electrical connection interfaces. Professional tuners recommend a methodical reconnection process that prioritizes clean, secure electrical contacts and proper physical positioning.
Prepare for reinstallation by organizing your workspace and gathering necessary tools. Your toolkit should include:
- Precision screwdriver set
- Electrical contact cleaner
- Dielectric grease
- Electrical tape
- Multimeter for connection verification
- Protective anti-static wrist strap
Carefully align the ECU with its original mounting brackets, ensuring no tension on electrical connectorss. Apply a thin layer of dielectric grease to electrical connections to prevent corrosion and ensure optimal conductivity. This protective measure creates a moisture-barrier that maintains long-term electrical system reliability. When reconnecting wiring harnesses, listen for a distinct clicking sound that confirms complete and secure attachment.
Thoroughly inspect all connection points, verifying that each electrical interface is properly seated and free from potential stress or misalignment. Gentle but firm pressure ensures complete connection without risking damage to delicate electronic components. Professional tuners recommend using a multimeter to verify continuity and resistance across critical electrical connections, confirming the integrity of your reinstallation process.
After completing the physical reinstallation, reconnect the vehicle’s battery and conduct a comprehensive system diagnostic scan. This verification step confirms that all electronic systems communicate correctly and that your speed limiter modification has been successfully integrated. Pay close attention to any warning indicators or unusual system responses during this final assessment. A successful reinstallation will result in smooth, uninterrupted electronic system performance, signaling that your speed limiter removal process has been executed with professional precision.
Step 5: Conduct Initial Testing and Performance Verification
Initial testing represents the critical validation phase that determines the success of your speed limiter removal process. This comprehensive verification ensures that your vehicle’s performance modifications deliver expected results while maintaining mechanical integrity and safety. Precision and systematic approach become your primary tools during this crucial evaluation stage.
Explore advanced performance diagnostics to understand the intricate details of vehicle performance verification. Begin with a controlled environment test, preferably a closed circuit or professional testing facility that allows safe, comprehensive performance assessment. Your initial testing protocol should focus on multiple vehicle performance dimensions, creating a holistic understanding of the modifications’ impact.
Develop a structured testing framework that captures critical performance metrics:
- Acceleration response times
- Top speed capability
- Throttle sensitivity
- Transmission shift dynamics
- Electronic system stability
- Fuel efficiency changes
Professional tuners recommend conducting multiple test runs under varying conditions to establish consistent performance benchmarks. Start with gentle acceleration and progressively increase intensity, monitoring vehicle responses carefully. Pay close attention to any unexpected electronic system behaviors, unusual vibrations, or warning indicators that might suggest incomplete or incorrect speed limiter removal.
Diagnostic scanning becomes your primary verification tool. Connect your professional-grade diagnostic scanner immediately after each test run, analyzing real-time data streams and comparing them against your original baseline measurements. This approach allows you to identify subtle changes in electronic system performance that might not be immediately apparent during physical testing. Look for smooth parameter transitions, consistent electronic communication, and absence of error codes that could indicate potential modifications.
The final verification stage involves comprehensive system diagnostics and comparative analysis. Document all test results meticulously, creating a detailed log of performance metrics before and after speed limiter removal. Successful testing will demonstrate improved vehicle responsiveness, smoother acceleration curves, and stable electronic system integration without compromising overall vehicle reliability. Remember that performance enhancement is a nuanced process requiring patience, precision, and methodical evaluation.
Unleash the Full Potential of Your Vehicle with Trusted ECU Solutions
Are you struggling with restrictive factory speed limiters and the complexity of ECU adjustments? If you want to enhance your vehicle’s performance with confidence, you need more than just guidance—you need industry-tested ECU files and reliable resources. Gain peace of mind with safe backups and expert-approved ECU modifications, as described in our detailed steps. Many professional tuners and car enthusiasts face the same challenges: compatibility concerns, a demand for verified files, and the need for easy restoration if anything goes wrong. At each stage—from preparation to final testing—secure access to the right files and software can make all the difference.
Experience the assurance that comes with a trusted partner. ECUFlashFiles.com gives you immediate access to original and performance ECU files, practical ECU data management tools, and essential ECU tuning guidance. That means less risk, more professional results, and the expertise you need at your fingertips. Do not let uncertainty hold back your next project—explore our resources now and feel the difference of expertly supported speed limiter removal.
Frequently Asked Questions
What tools do I need for speed limiter removal?
To remove a speed limiter, you will need a professional automotive diagnostic scanner, an OBD2 diagnostic interface cable, a laptop with compatible ECU tuning software, a stable power supply, a multimeter, and backup files of your original ECU settings.
How do I back up my ECU settings before making modifications?
You can back up your ECU settings by connecting your OBD2 scanner to the vehicle’s diagnostic port and using the diagnostic software to create a complete backup of your ECU configuration. Ensure you verify the integrity of the backup files afterward.
What steps are involved in modifying ECU settings for speed limiter removal?
Modifying ECU settings typically involves connecting your scanner, accessing the ECU configuration menus, adjusting parameters such as the speed threshold, throttle response, and electronic governor settings, and then verifying the changes with diagnostic scans.
How can I ensure that my vehicle performs well after removing the speed limiter?
To ensure optimal performance post-modification, conduct initial tests in a controlled environment, monitoring acceleration response, top speed, throttle sensitivity, and overall stability, followed by comprehensive diagnostic scans to confirm successful integration of the modifications.