Reading a car’s fault codes might sound like something only mechanics do, but nearly every vehicle built after 1996 has an OBD-II port hiding in plain sight. Most people do not realize that a simple scanner can reveal everything from engine misfires to transmission glitches in less than five minutes. Yet the biggest surprise is that understanding these codes does not just help you fix problems quickly, it can save you thousands by stopping issues before they become expensive repairs.
Table of Contents
- Step 1: Gather Necessary Tools And Equipment
- Step 2: Connect The OBD-II Scanner To Your Vehicle
- Step 3: Retrieve Fault Codes Using The Scanner
- Step 4: Interpret The Retrieved Fault Codes
- Step 5: Research And Diagnose The Issues
- Step 6: Clear Fault Codes And Verify Repairs
Quick Summary
| Key Point | Explanation |
|---|---|
| 1. Invest in Quality Diagnostic Tools | Quality OBD-II scanners vary greatly; higher-end models offer better data and compatibility for effective diagnostics. |
| 2. Properly Connect the Scanner | Ensure the OBD-II scanner is securely connected to the vehicle’s DLC to facilitate accurate communication with the onboard system. |
| 3. Retrieve and Document Fault Codes | Use the scanner’s menu to access and note all diagnostic trouble codes (DTCs) for further analysis and troubleshooting. |
| 4. Interpret Codes Effectively | Understand the meaning of each DTC and consult manufacturer resources to identify potential mechanical issues. |
| 5. Clear Codes and Verify Repairs | After addressing issues, clear fault codes and monitor the vehicle to confirm that no new codes appear, indicating a successful repair. |
Step 1: Gather Necessary Tools and Equipment
Reading fault codes requires precision and the right equipment. Professional automotive technicians understand that preparation is half the battle when diagnosing vehicle issues. Before diving into fault code analysis, you need a systematic approach to gathering essential tools and understanding their functionality.
The core equipment for reading fault codes typically includes an OBD-II scanner, which serves as your primary diagnostic tool. Modern scanners range from basic code readers to advanced professional diagnostic systems. Your choice depends on your technical expertise and specific diagnostic needs. Professional grade scanners provide more comprehensive data and support multiple vehicle protocols, while basic readers offer fundamental code reading capabilities.
Beyond the scanner, you will need several supporting tools to ensure a comprehensive diagnostic process. A reliable laptop or tablet with internet connectivity allows you to research specific fault codes and access manufacturer databases. Protective gloves and safety glasses are recommended, especially when working in engine compartments. A multimeter can help verify electrical system performance alongside fault code readings. Additionally, having vehicle-specific service manuals or digital repair guides provides critical context for interpreting complex diagnostic trouble codes.
Your equipment selection should align with your technical skill level and intended use. Explore professional diagnostic techniques can help you understand more nuanced aspects of fault code reading. Professional technicians recommend investing in quality tools that offer consistent performance and compatibility across multiple vehicle platforms.
To help you prepare for reading fault codes, use this table as a quick reference for the essential tools and equipment mentioned in the article:
| Tool/Equipment | Purpose | Notes |
|---|---|---|
| OBD-II Scanner | Reads and retrieves fault codes from the vehicle | Choose basic or professional grade |
| Laptop/Tablet | Research codes and access manufacturer data | Should have internet connectivity |
| Protective Gloves | Personal safety when working in engine compartments | Recommended for all hands-on work |
| Safety Glasses | Eye protection during diagnostic work | Especially important around engines |
| Multimeter | Verifies electrical performance | Used for deeper diagnostics |
| Service Manual/Digital Guide | Helps interpret complex codes and procedures | Vehicle-specific recommended |
Verification of your diagnostic setup involves checking scanner compatibility with your specific vehicle make and model, ensuring all connections are secure, and confirming that software or firmware is current. A well-prepared technician approaches fault code reading methodically, recognizing that proper equipment is the foundation of accurate vehicle diagnostics.
Step 2: Connect the OBD-II Scanner to Your Vehicle
Connecting your OBD-II scanner is a precise process that requires careful attention to detail and understanding of your vehicle’s diagnostic interface. Modern vehicles manufactured after 1996 feature a standardized diagnostic link connector (DLC) that serves as the gateway to your vehicle’s internal computer systems. This crucial connection allows you to access and interpret the vehicle’s diagnostic trouble codes with precision.
Locating the OBD-II port is your first critical task. In most vehicles, this diagnostic connector is situated beneath the dashboard on the driver’s side, typically within 12 inches of the steering column. You might need to move some interior trim or look carefully to find the exact location. The port is rectangular, with 16 pins, and is usually dark colored. Before connecting your scanner, ensure the vehicle’s ignition is in the off position to prevent potential electrical system interference.
Carefully insert the OBD-II scanner’s connector into the port, making sure it seats firmly and completely. Some scanners require a direct, snug connection, while others might have slight play. Gentle but firm insertion is key do not force the connector if it feels resistant. Once connected, turn the vehicle’s ignition to the accessory position without starting the engine. This allows the scanner to power up and establish communication with the vehicle’s onboard computer system. Learn advanced diagnostic connection techniques can provide additional insights into complex vehicle interfaces.
Verification of a successful connection involves observing your scanner’s display. Most modern scanners will provide immediate feedback indicating system communication status. Look for clear indicators such as a successful connection message, system initialization notification, or a prompt requesting vehicle specific information. If no response occurs, double check your connection, ensure the scanner is fully charged or battery powered, and confirm compatibility with your specific vehicle make and model. Troubleshooting connection issues early prevents frustration and ensures accurate diagnostic results.
Step 3: Retrieve Fault Codes Using the Scanner
Retrieving fault codes represents the critical moment of diagnostic investigation where your vehicle’s hidden communication system becomes transparent. Professional technicians understand that this step transforms cryptic electrical signals into actionable diagnostic information. Your OBD-II scanner serves as a translator between your vehicle’s complex computer system and your understanding of potential mechanical issues.
Once connected, navigate your scanner’s menu to initiate the fault code retrieval process. Most modern scanners offer straightforward interfaces with clear options like “Read Codes” or “Scan Vehicle.” Press the appropriate button and allow the scanner several moments to communicate with the vehicle’s onboard computer. Patience is key during this process scanning can take anywhere from 30 seconds to several minutes depending on your vehicle’s complexity and the scanner’s capabilities.
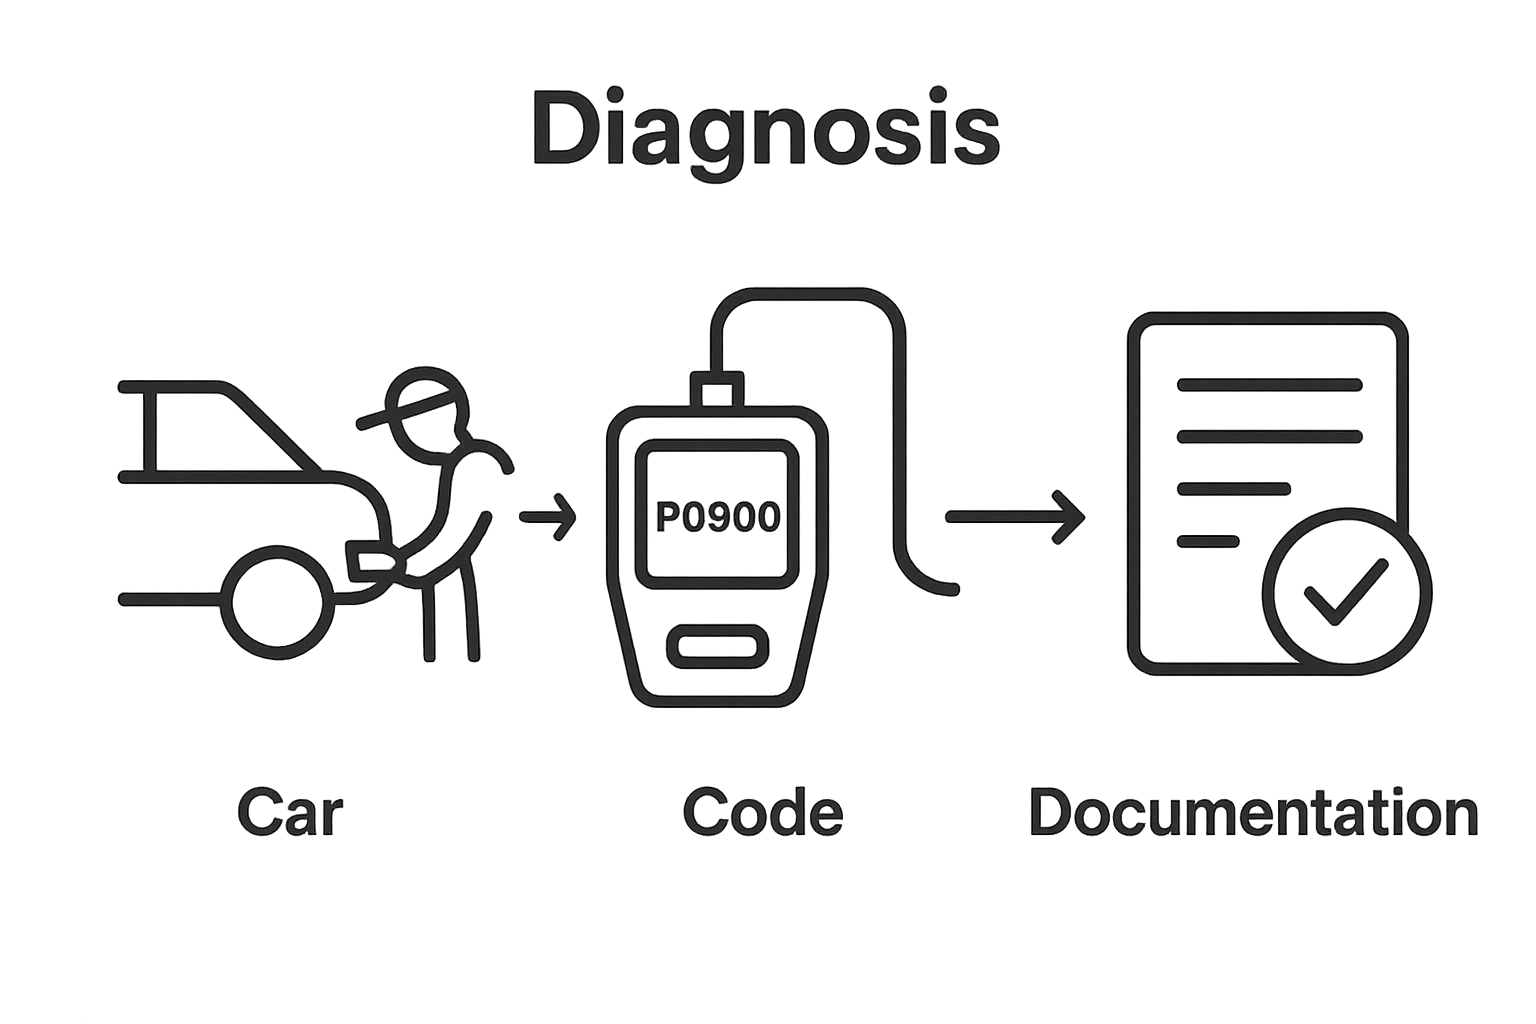
The scanner will display diagnostic trouble codes (DTCs), which are alphanumeric sequences representing specific vehicle system problems. These codes provide crucial insights into potential mechanical or electrical malfunctions.
P-codes typically relate to powertrain issues, B-codes indicate body system problems, C-codes address chassis systems, and U-codes represent network communication failures. Each code requires careful interpretation. Explore advanced ECU data reading techniques can help you understand more nuanced diagnostic approaches.
Verification involves cross referencing the retrieved codes with your vehicle’s specific manufacturer documentation or professional diagnostic databases. Note down all codes precisely, including their complete alphanumeric sequence and any accompanying descriptive information. Some advanced scanners provide immediate translation of code meanings, while others require manual research. Professional technicians recommend documenting the codes, their potential implications, and creating a systematic approach to further diagnostic investigation.
This methodical process transforms raw data into a comprehensive understanding of your vehicle’s current mechanical health.
Step 4: Interpret the Retrieved Fault Codes
Interpreting fault codes transforms cryptic digital signals into actionable diagnostic insights. These alphanumeric codes represent your vehicle’s sophisticated self diagnostic language, providing a window into complex mechanical and electrical systems. Professional technicians recognize that understanding these codes requires more than simple translation it demands comprehensive systems knowledge and strategic analysis.
Each diagnostic trouble code follows a standardized format beginning with a letter indicating the vehicle system. P-codes signal powertrain issues like engine and transmission problems, B-codes relate to body systems, C-codes address chassis components, and U-codes represent network communication failures. The subsequent digits provide granular details about the specific malfunction. For instance, a code like P0300 indicates random multiple cylinder misfire detected, which suggests broader engine performance challenges requiring immediate attention.
Successful code interpretation involves cross referencing multiple resources. Your scanner might provide basic code descriptions, but professional diagnostic databases offer more comprehensive insights. Manufacturer specific repair manuals, online technical forums, and professional diagnostic websites can provide nuanced explanations of these codes. Explore advanced ECU data reading techniques to develop a more sophisticated understanding of diagnostic troubleshooting. Pay special attention to whether the code represents a current active problem or a historical logged issue, as this distinction significantly impacts your diagnostic approach.
Verification involves methodically documenting each retrieved code, its potential implications, and developing a systematic investigation strategy. Professional technicians recommend creating a detailed log that includes the code, its description, potential root causes, and recommended diagnostic next steps. This methodical approach transforms raw diagnostic data into a comprehensive vehicle health assessment, enabling targeted and efficient problem resolution.
Step 5: Research and Diagnose the Issues
Researching and diagnosing vehicle fault codes transforms abstract digital signals into actionable mechanical insights. Professional technicians understand that successful diagnosis requires more than technical knowledge it demands systematic investigation and strategic problem solving. Each fault code represents a potential symptom of underlying vehicle system complexities that demand careful, methodical analysis.
Begin your diagnostic journey by consulting multiple authoritative resources. Manufacturer specific repair manuals provide the most precise diagnostic information, offering detailed troubleshooting flowcharts and component specific guidance. Online professional automotive forums and technical databases can supplement these resources, providing real world diagnostic experiences and nuanced insights that official documentation might overlook. Professional grade diagnostic websites offer comprehensive code interpretations that go beyond basic scanner descriptions, helping you understand the intricate relationships between different vehicle systems.
Your diagnostic approach should involve a systematic verification process. Start by confirming the fault code’s current status distinguishing between active and historical codes is crucial. Active codes indicate ongoing issues requiring immediate attention, while historical codes might represent intermittent problems or previously resolved conditions. Explore advanced ECU data reading techniques to develop a more sophisticated understanding of diagnostic troubleshooting. Cross reference the code with known vehicle specific patterns, considering factors like mileage, maintenance history, and recent vehicle modifications that might influence diagnostic interpretations.
Verification involves creating a comprehensive diagnostic plan. Document each potential root cause, required diagnostic tests, and estimated complexity of resolution. Professional technicians recommend developing a hierarchical investigation strategy, starting with the simplest and most cost effective diagnostic procedures before escalating to more complex interventions. This methodical approach ensures efficient problem resolution while minimizing unnecessary component replacement and diagnostic expenses.
Step 6: Clear Fault Codes and Verify Repairs
Clearing fault codes represents the final critical stage of diagnostic resolution, transforming theoretical understanding into practical vehicle restoration. Professional technicians recognize this step as more than a simple button press it is a strategic verification process that confirms your diagnostic and repair efforts have successfully addressed the underlying mechanical issue.
To clear fault codes, navigate your OBD-II scanner to the “Clear Codes” or “Erase Codes” option. Proceed with caution this action permanently removes all stored diagnostic information. Some advanced scanners will prompt you to confirm this irreversible action, providing an additional safeguard against accidental data erasure. After clearing the codes, restart your vehicle and allow the onboard computer several driving cycles to recalibrate and monitor system performance. Explore advanced ECU data verification techniques to ensure comprehensive system reset and validation.
Verification involves a comprehensive monitoring process. Start by observing the check engine light monitor it should remain off after clearing codes, indicating successful repair. Take a test drive covering multiple driving conditions city streets, highway speeds, and varied acceleration patterns. Professional technicians recommend monitoring the vehicle for at least 50 to 100 miles to ensure no recurring fault codes emerge. During this verification period, pay close attention to vehicle performance characteristics like engine smoothness, transmission shift quality, and overall drivability. Any sudden changes or reappearance of previous symptoms could indicate incomplete diagnostic resolution or the presence of additional underlying mechanical issues that require further investigation. Your methodical approach transforms diagnostic troubleshooting from a reactive task into a proactive vehicle maintenance strategy.
Make Sense of Fault Codes and Unlock Professional Solutions
Here is a step-by-step overview table to help you quickly understand the main actions involved in reading fault codes, along with key outcomes and difficulty estimates for each stage:
| Step | Key Action | Expected Outcome | Difficulty |
|---|---|---|---|
| Gather Tools & Equipment | Prepare diagnostic setup | Ready all necessary diagnostic tools | Easy |
| Connect OBD-II Scanner | Attach scanner to port | Secure vehicle-to-scanner communication | Easy |
| Retrieve Fault Codes | Scan for DTCs | List of diagnostic trouble codes obtained | Easy |
| Interpret the Retrieved Fault Codes | Analyze scanned codes | Understand mechanical/electrical implications | Medium |
| Research & Diagnose Issues | Investigate using resources | Develop a targeted repair plan | Medium |
| Clear Fault Codes & Verify Repairs | Erase and monitor | Confirm issue resolved and codes remain cleared | Medium |
Are you frustrated trying to interpret cryptic fault codes even after following detailed step-by-step guides? Many readers discover during the diagnostic process that accurate code analysis and reliable repair demand not just the right tool but also high-quality ECU data and professional files. If you have gone through code reading but still face uncertainty or incomplete repairs, you are not alone. Complex issues like interpreting manufacturer-specific DTCs or finding the right calibration data often require specialized resources and trusted expertise.
Take your diagnostic results further and solve tough ECU problems today. Visit ECUFlashFiles.com for fast access to factory-original ECU files, performance tunes, and verified DAMOS calibration data. Rely on over 20 years of industry experience and get secure, instant delivery on files tailored for your car make, engine type, and software version. Start your professional-level ECU repair or tuning now and ensure your fault code journey ends in success. Explore our solutions and gain confidence in every fix.
Frequently Asked Questions
How do I connect an OBD-II scanner to my vehicle?
To connect an OBD-II scanner, first locate your vehicle’s OBD-II port, typically found beneath the dashboard on the driver’s side. Insert the scanner’s connector firmly and ensure the ignition is in the ‘accessory’ position before powering on the device.
What do the different types of fault codes mean?
Fault codes are categorized into different types: P-codes refer to powertrain issues, B-codes relate to body systems, C-codes address chassis components, and U-codes indicate communication failures within the vehicle network.
How can I interpret the fault codes I retrieve?
Interpreting fault codes involves understanding the standardized format of the code, referring to manufacturer-specific repair manuals, and using professional databases to find detailed descriptions and potential implications of the codes.
What should I do if I retrieve an active fault code?
If you retrieve an active fault code, begin by documenting it, then investigate potential causes using authoritative resources. Run diagnostic tests to identify the root of the issue and develop a plan for resolution.